How to Cut Baseboards with a Miter Saw: Miter Saw Basics (2021)
Looking for a complete guide on how to cut baseboards with a miter saw? If yes then you are exactly in the right place. In this article, I’ll teach you how to use your miter saw effectively and cut those baseboards corners like a woodworking pro.
I know there are a lot of tools that can be used for such kinds of jobs. However, miter saws are a lot more effective than any other especially when you want to produce some fine angled cuts.
All you need to do is to equip the right blade for the job and use your power miter saw the right way. Don’t worry we will go through the whole process step by step here.
I am pretty sure after reading this article you’ll know exactly how to cut baseboard corners with a miter saw.
So without any further ado, let’s get started.
Things You’ll Need to Cut Baseboards with a Miter Saw
- A high-quality compound miter saw
- Fine woodworking blade
- woodworking pencil
- measuring tape
- Safety glasses
- Dust Mask
Safety Precautions

Before you start working on the project you must ensure personal safety because it is more important than anything else. Here are some safety precautions that you need to follow:
- Always use your Miter saw in a very well-ventilated area.
- Keep children away from the working area at all times while using power tools because they can easily get injured due to certain unexpected accidents.
- Do not try this project if you’re under the influence of any sort of drugs or alcohol because it is illegal and also dangerous for yourself as well as other people around you.
- Keep your miter saw handle turned so that it cannot move freely while working with the saw.
- Wear safety glasses because during cutting sometimes wood chips and saw dust can get into your eyes and cause serious damage to your vision
- Create an assembly table in order to keep everything in one place as well as to secure your project from any kind of movement during cutting.
- Always wear proper hearing protection because miter saws produce a lot of noise during operation.
- Do not touch the blade or saw while it is running because it might cause serious injuries to you as well as your dear ones
- Always turn off the miter saw when you need to adjust the angle.
- Make sure to use sharp blades for cutting baseboards as dull blades can cause a lot of problems while cutting.
- Use your miter saw at the right speed because working with too high or low speed might damage your tool.
- Always make sure that you are not applying too much pressure on the handle of your miter box during operation because it might harm the motor and consequently the tool itself
Take Measurements
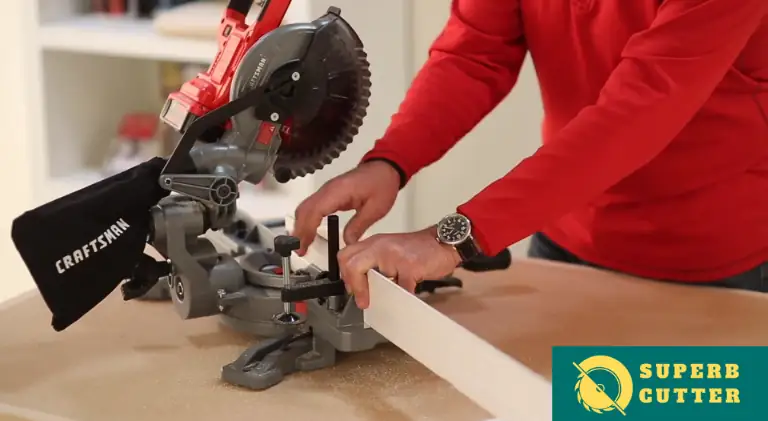
The first and most important step of the project is to properly take measurements in order to make sure that you will end up with a perfect cut. So here are the steps that you need to follow:
Mark your baseboard on both sides where you want them to be secured. Keep marking the board from one end till the other side
Draw two lines parallel to each other so that they intersect at the front of your miter saw, which is also known as its throat opening (which we’ll discuss later on).
Take measurements from both ends and mark the lengths on your baseboard with a pencil so that you can make accurate cuts later on.
Ensure that Your Miter Saw is Perfectly Leveled
Before you even think about cutting baseboards, make sure that the miter saw is on a level surface. Otherwise, you won’t be able to get accurate and even cuts. So never skip this step as it is one of the most important ones
Mount the Right Blade
Always use woodworking blades for cutting baseboards because they are specially designed for the purpose of making precise cuts. You can get these from any hardware store. So never skip this step otherwise you’ll end up messing everything up
Engage Your Safety Guard (if you have one)
Most of the miter saws come with safety guards which prevent accidents during operation and make things more convenient as well, so make sure that you engage it before starting working on your project. So make sure that it is properly engaged.
Set the Cutting Angle to the Desired One
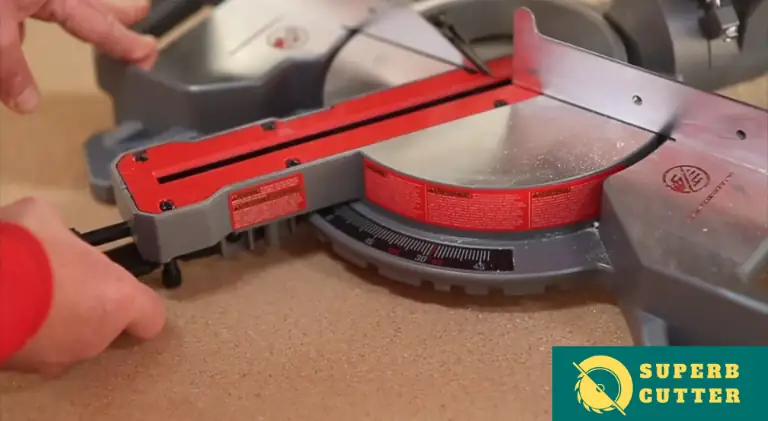
Make sure your saw is set at the right angle for the type of cut you want to make. For example, if you want to cut baseboards with a miter saw, your blade should be set at 45 degrees to one side.
You can use a miter saw to cut a piece of baseboard at angles other than 45 degrees. It mainly depends upon the needs because at some points you will have to produce cuts at 90 degrees.
90-degree cut is often used for straight spots whereas the cuts at 45-degree angles are often used to join two-piece and fit together around the corner.
Adjust the Miter Guide
Adjust your miter guide so it’s parallel with the blade and locks into place. Leave about ¼-inch between the two in order to achieve a sturdy lock.
Set Up the Miter Saw
Now set up your miter saw at an angle of 45 degrees (for example) because it is going to be used for cutting baseboards with a compound miter saw respectively. Keep in mind that while placing it on the surface, you should also make sure that its location remains clear.
Place the Baseboard on the Cutting Table of the Saw Correctly
Position your board against the fence with one edge touching it (the end away from where you’re going to start cutting) and rest the other one on it. Make sure that you have dragged your board perfectly in order to get accurate and even cuts.
Turn On the Saw and Make Sure that It Is Working Properly
After having followed all these steps, turn on your compound miter saw and make sure that it is working properly. Keep an eye on the blade while it rotates because if something goes wrong, stop the machine immediately and fix it before you start cutting again.
Engage Fence for Straight Cuts (Optional)
If you want straight cuts instead of angled ones for some reason, engage the fence. Position your baseboard against it so that its end rests directly against the fence but make sure that there’s about ¼-inch between it and the blade, just like in the previous step
After this is done, keep your baseboard on the fence with one of its ends touching it but make sure that the end you’re about to cut from remains away from the fence.
After that lock the miter guide of the power miter box so that it can’t move while your machine continues rotating.
Start Cutting the Baseboard Corner
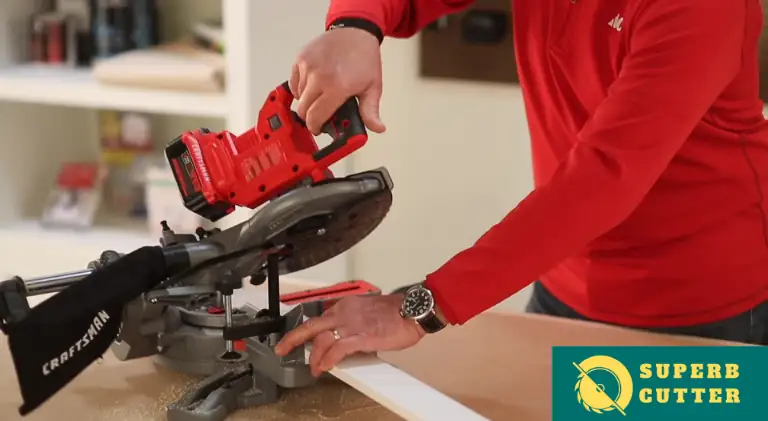
Once you have done all the above-mentioned steps, you are clear to start cutting the baseboard corner now without any problem at all.
In order to cut baseboard corners with a power miter saw you will have to power the blade first. Let the blade reach its top speed and then slowly descend it over the workpiece.
Always make sure that the blade hits exactly the line otherwise you will not be able to produce clear miter joints.
This is extremely important because baseboard molding with the incorrect angled cut will never adjust properly.
Make Outward Cuts First

If you want to cut baseboards with a miter saw beginning from outside corners (as opposed to inside ones) proceed as follows:
Make outward cuts first, always starting from an edge that rests directly against both fences.
Afterward, follow through with inward cuts until you reach those same edges again this way your cut will be made in one continuous motion and you will not have to stop the machine in between.
Doing so is dangerous because it can harm both you and your tool.
Remove Extra Pieces of Material
If a part of the board’s end remains uncut, use a chisel or other woodworking tools to eliminate them from there because this prevents splintering for even better results.
Also do not forget about removing any sawdust that might get caught around the back baseboard corners after cutting them at a miter saw.
Repeat the Process with Other Board Edges
Afterward, repeat the same process with all remaining edges and then remove any excess materials as well
Final Words
It might be daunting to cut the baseboard with a miter saw, but with the right blade and correct use of power saw, you can make it easier on yourself.
Let me summarize the whole article for you quickly in order to revise all the above information.
- Take measurements before working on the projects
- Make sure the miter saw is on a level surface before cutting baseboards.
- Adjust your blade at the desired angle for each cut.
- To set your miter guide at a perfect 90 degrees to the blade, make sure it’s parallel before locking it into place.
- To start, position the board with one of its edges touching the bottom rail (the end away from where you will start cutting).
- You can use stop blocks during the project for more accuracy
- If the piece of baseboard is too large you can clamp it to your work bench before cutting it.


![What Size Circular Saw to Cut 4x4? - [Problem Solved!] 16 What Size Circular Saw to Cut 4×4? – [Problem Solved!]](https://www.superbcutter.com/wp-content/uploads/2022/07/What-Size-Circular-Saw-to-Cut-4x4_.webp)
